A pre-wired harness can make a push button installation more organized, but it does not remove the need to understand the vehicle's electrical system. Before connecting a 12V push button switch, take time to identify the correct circuits and verify the installation plan.
Start with the vehicle wiring information
Before touching a wire, identify the exact vehicle or equipment configuration and obtain the appropriate wiring information. Two vehicles that look similar may use different ignition layouts, security features or starter-control arrangements.
The EFHIPS 12V switch is supplied with a pre-attached, color-coded harness. The colors are intended to help organize the wiring, but they should never be treated as a universal map for every vehicle.
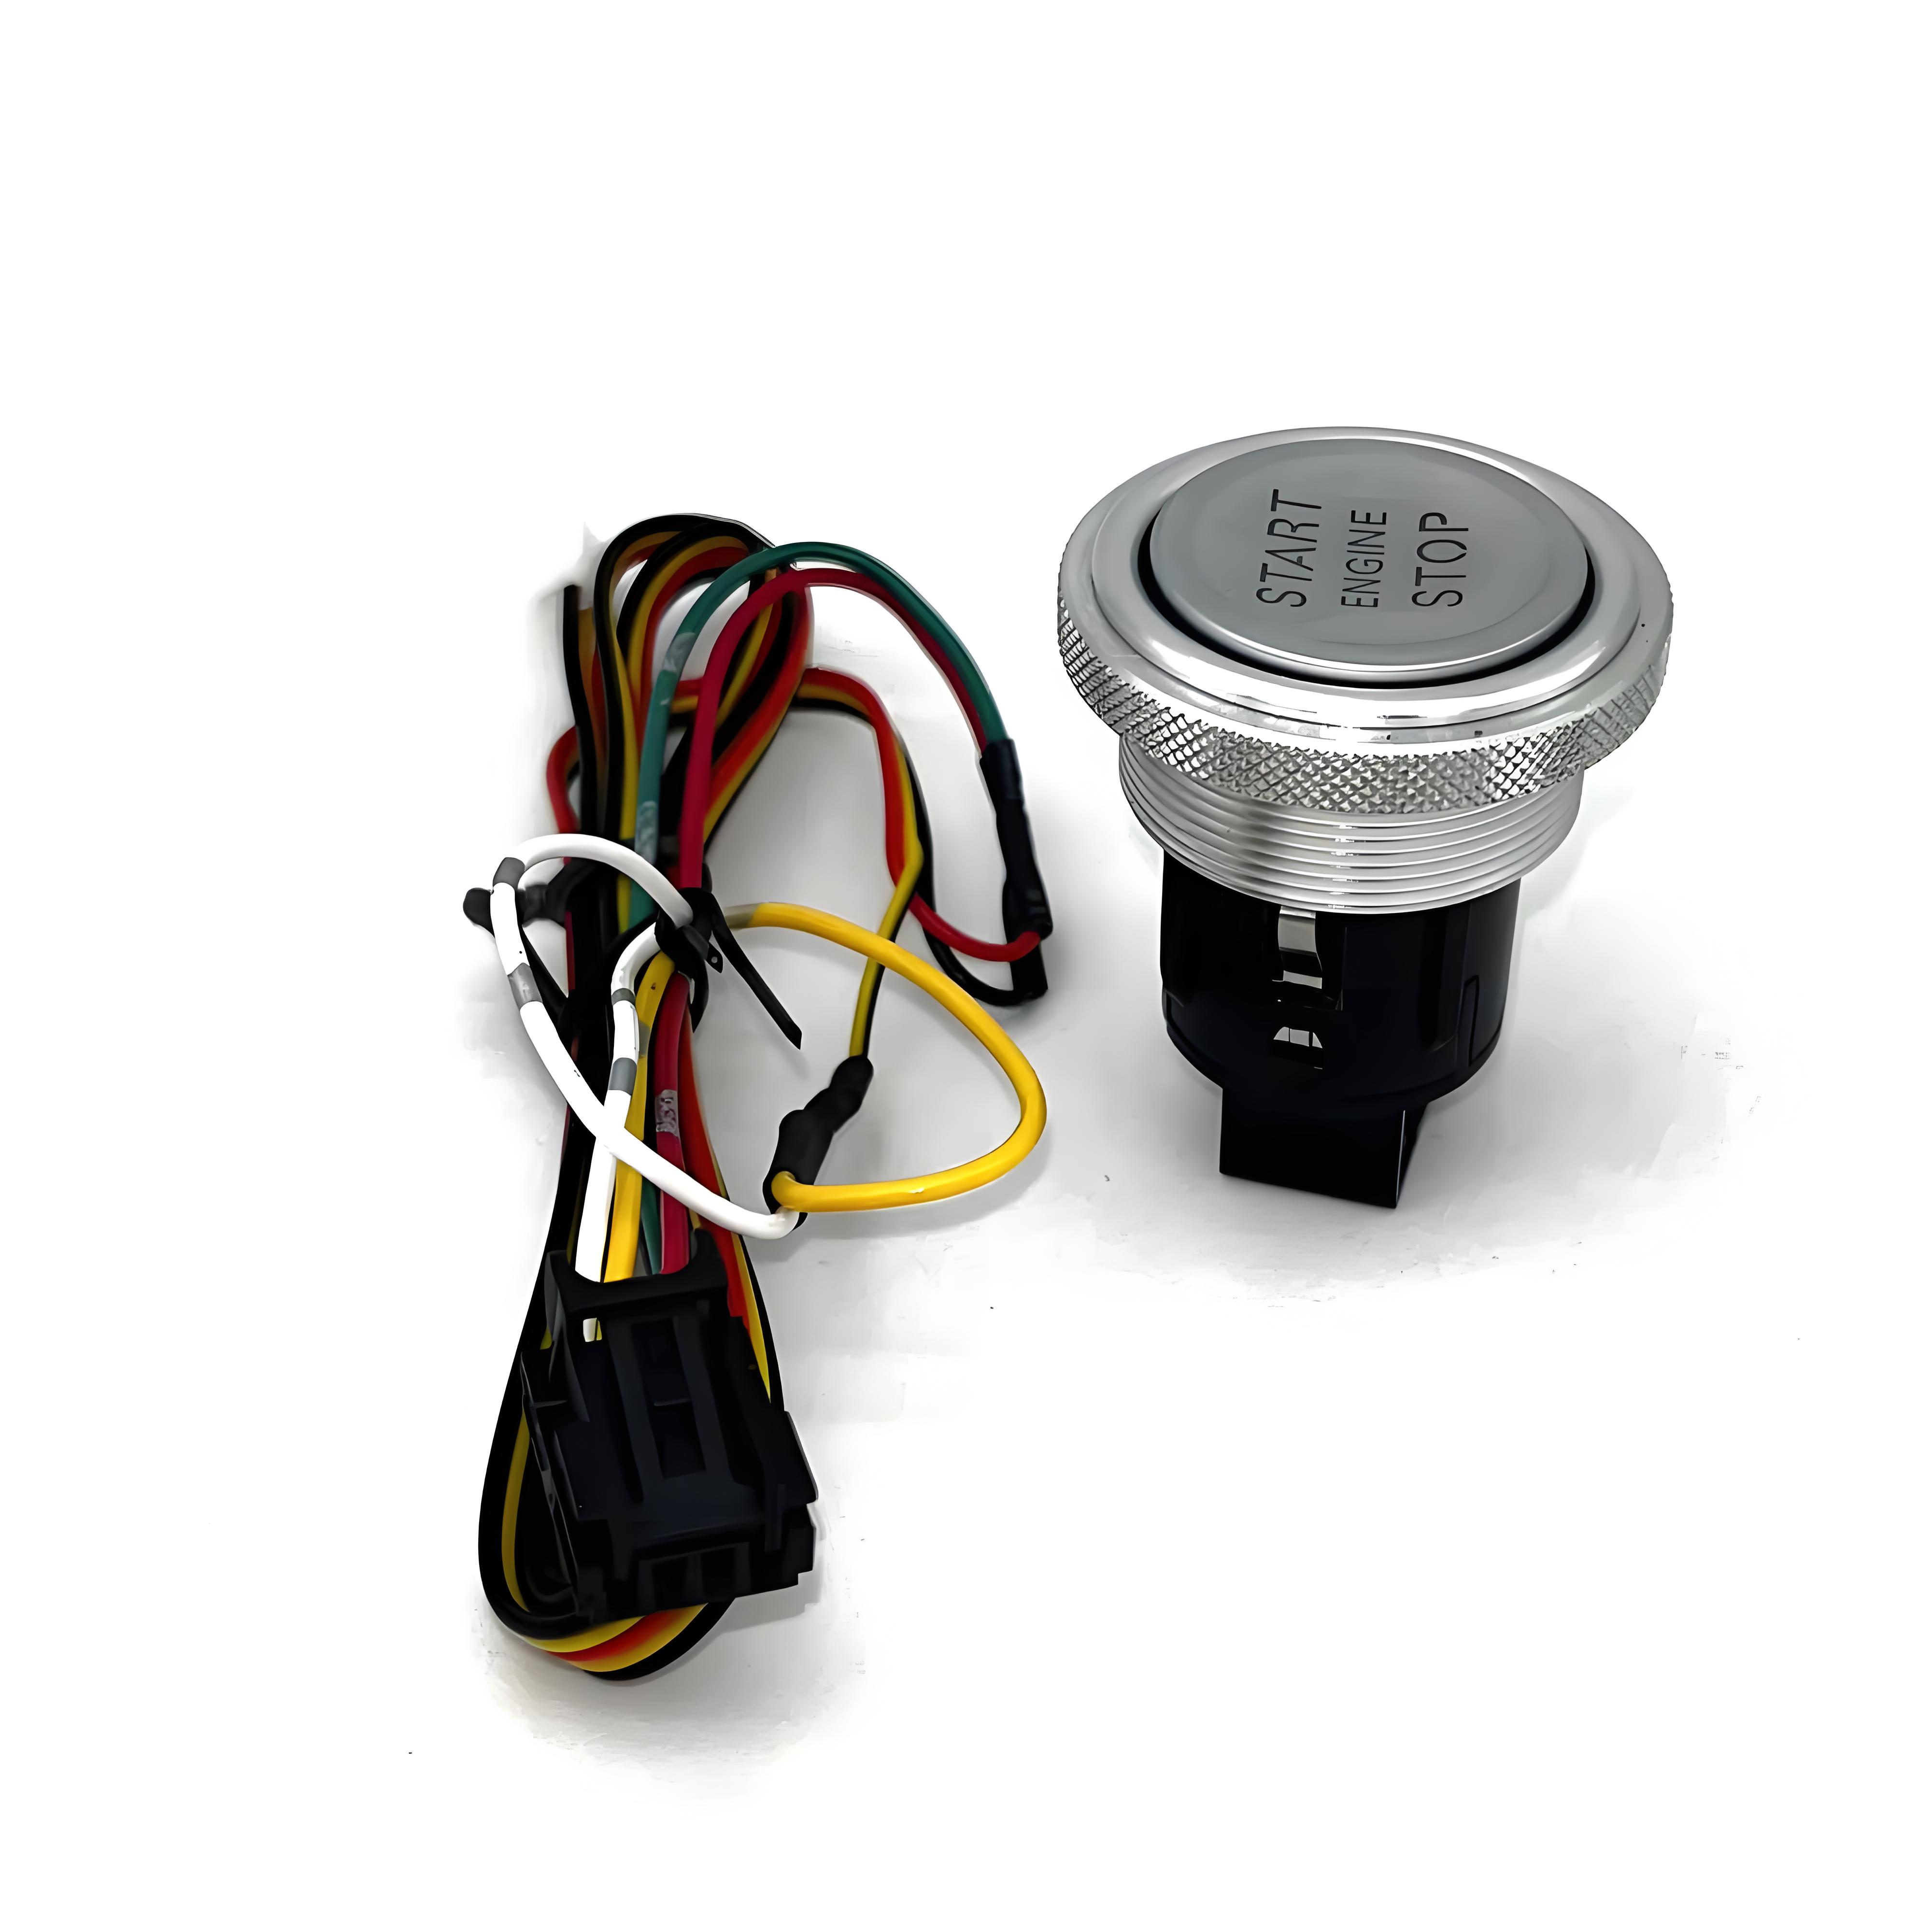
Inspect the harness before installation
- Check the connector and wire insulation for visible damage.
- Make sure the harness reaches the planned mounting and connection points without tension.
- Keep wiring away from sharp edges, hot surfaces and moving components.
- Plan how the harness will be secured so it cannot interfere with pedals, steering or other controls.
Identify circuits — do not guess
Use the vehicle's service information and a suitable multimeter to identify the relevant power, ignition and starter-control circuits. Confirm the circuit behavior under the correct operating conditions before making a connection.
Wire colors can differ between manufacturers, model years and aftermarket products. A wire that appears to be the same color may serve a different function. Incorrect connections can damage components, cause unexpected operation or create a safety hazard.
Make a connection plan
Before installation, document which verified vehicle circuit will connect to each required harness lead according to the product's wiring instructions. If the product documentation does not clearly identify a lead or its electrical rating, stop and request clarification rather than assuming its purpose.
Use suitable automotive-grade connectors and protection methods for the application. Avoid loose twists, exposed copper and unsupported splices. Connections should be insulated, mechanically secure and protected from vibration and moisture where appropriate.
Test in a controlled sequence
- Recheck every connection against the wiring plan.
- Confirm that no bare conductor can contact the vehicle body or another circuit.
- Restore power only when the installation area is clear and the vehicle is secured.
- Test the intended switch behavior while following the vehicle manufacturer's safety procedures.
- Stop immediately if the starter operates unexpectedly, a fuse opens, wiring heats up or the vehicle behaves abnormally.
If you are not experienced with automotive 12V wiring, have a qualified installer identify the circuits and complete the work. A pre-attached harness is a convenience, not a substitute for electrical knowledge.
Common mistakes to avoid
- Assuming all 12V vehicles use the same ignition wiring.
- Connecting wires based only on insulation color.
- Skipping multimeter checks.
- Routing the harness near pedals, steering parts or heat sources.
- Assuming the switch includes an immobilizer bypass or remote-start electronics.
Final thoughts
A reliable installation starts with a verified wiring plan. Inspect the harness, identify each circuit using proper information and test carefully. If any connection is uncertain, pause and ask a professional rather than experimenting on the vehicle.
Related Reading
- Push Button Start Installation: What the Wires Actually Do
- How to Plan a Push Button Start Installation
- Push Button Start Installation Order: An 8-Stage Method
Explore the EFHIPS 12V Push Button Switch
Review the product details and contact EFHIPS to discuss your application before ordering.
View Product Details