If you have ever searched real push button start installation, professional push start install, or what does an aftermarket push button ignition upgrade actually look like, you have probably found a lot of quick clips but not much real context.
So in this article, we want to show the process in a more realistic way. This is a scene-based walkthrough of how an EFHIPS push button start system comes together in an actual workshop setting — from the first look inside the cabin to the final illuminated button already installed in place.
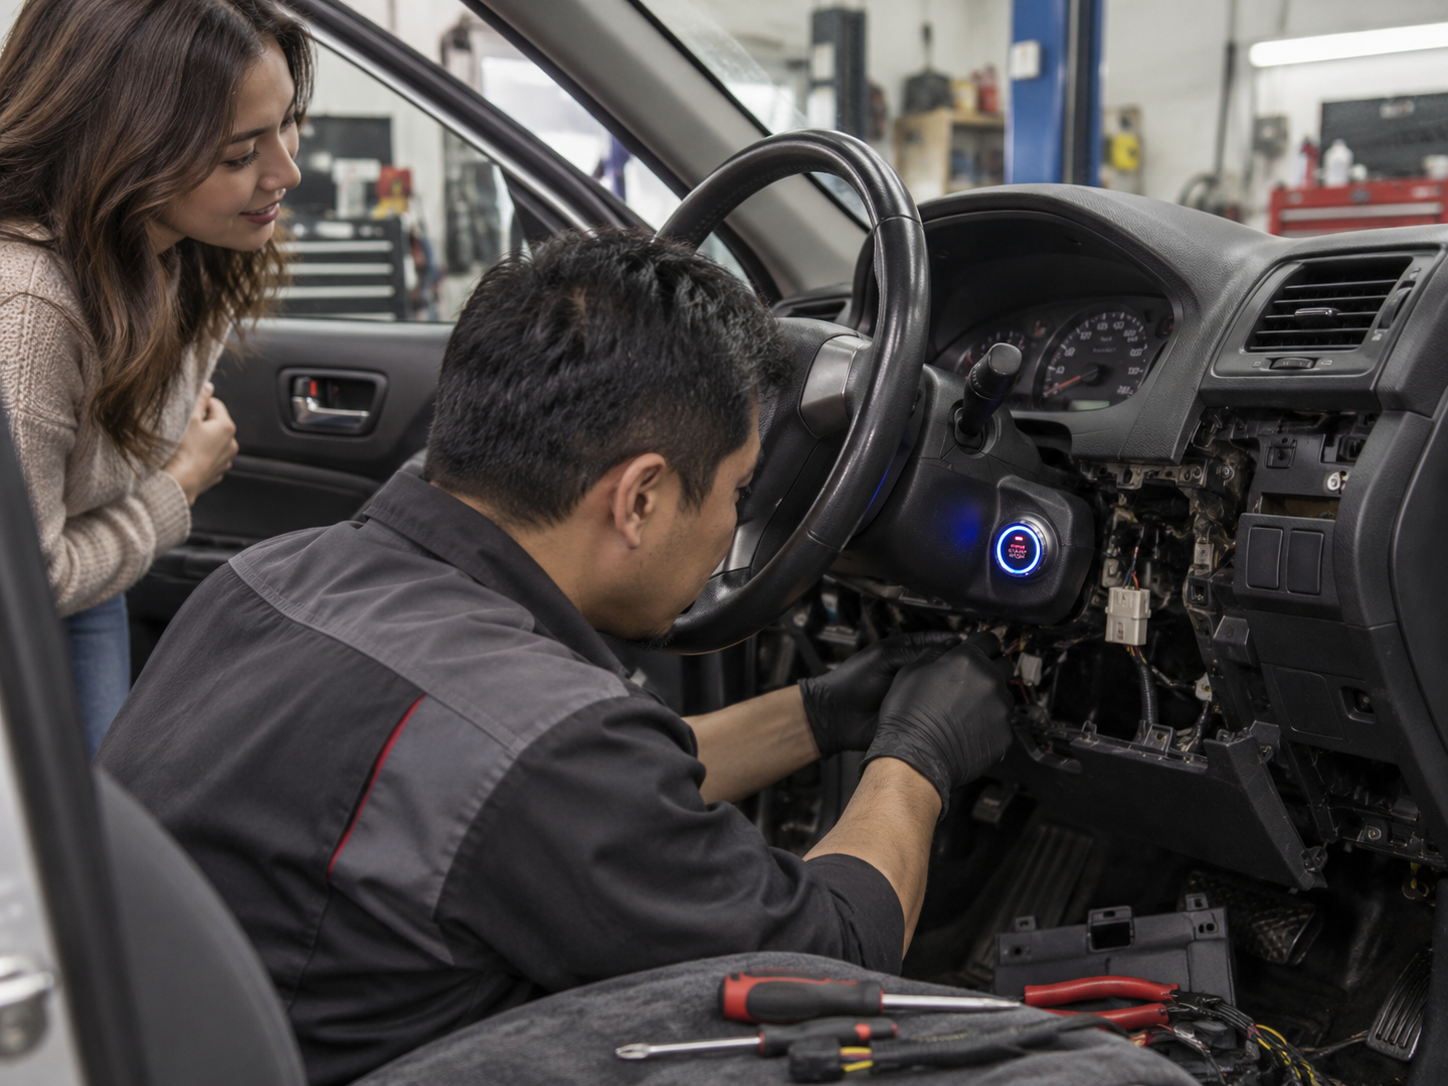
The First Impression Matters More Than Most People Expect
One of the biggest differences between a rushed installation and a clean installation is what happens before the first wire is connected. A professional installer does not begin by guessing. The process starts with understanding the vehicle layout, looking at the ignition area, checking the trim panels, and identifying where the start button will feel natural once the job is finished.
That is exactly why a proper car push button start installation should look calm and methodical. In a real shop, the owner is often standing nearby, asking questions, watching the progress, and trying to picture how the finished upgrade will feel in daily life.
Why Older Cars Benefit So Much From This Upgrade
Many drivers think of push button start as a feature only for newer vehicles, but in reality, it often has the biggest emotional impact in an older car. When the original ignition area feels dated, worn, or inconvenient, a push button start upgrade for an older car changes the cabin experience immediately.
That is why so many owners search for terms like aftermarket start stop button for older cars, how to modernize an older car interior, and best push button start system for daily drivers. The upgrade is not only functional — it changes how the vehicle feels every single day.
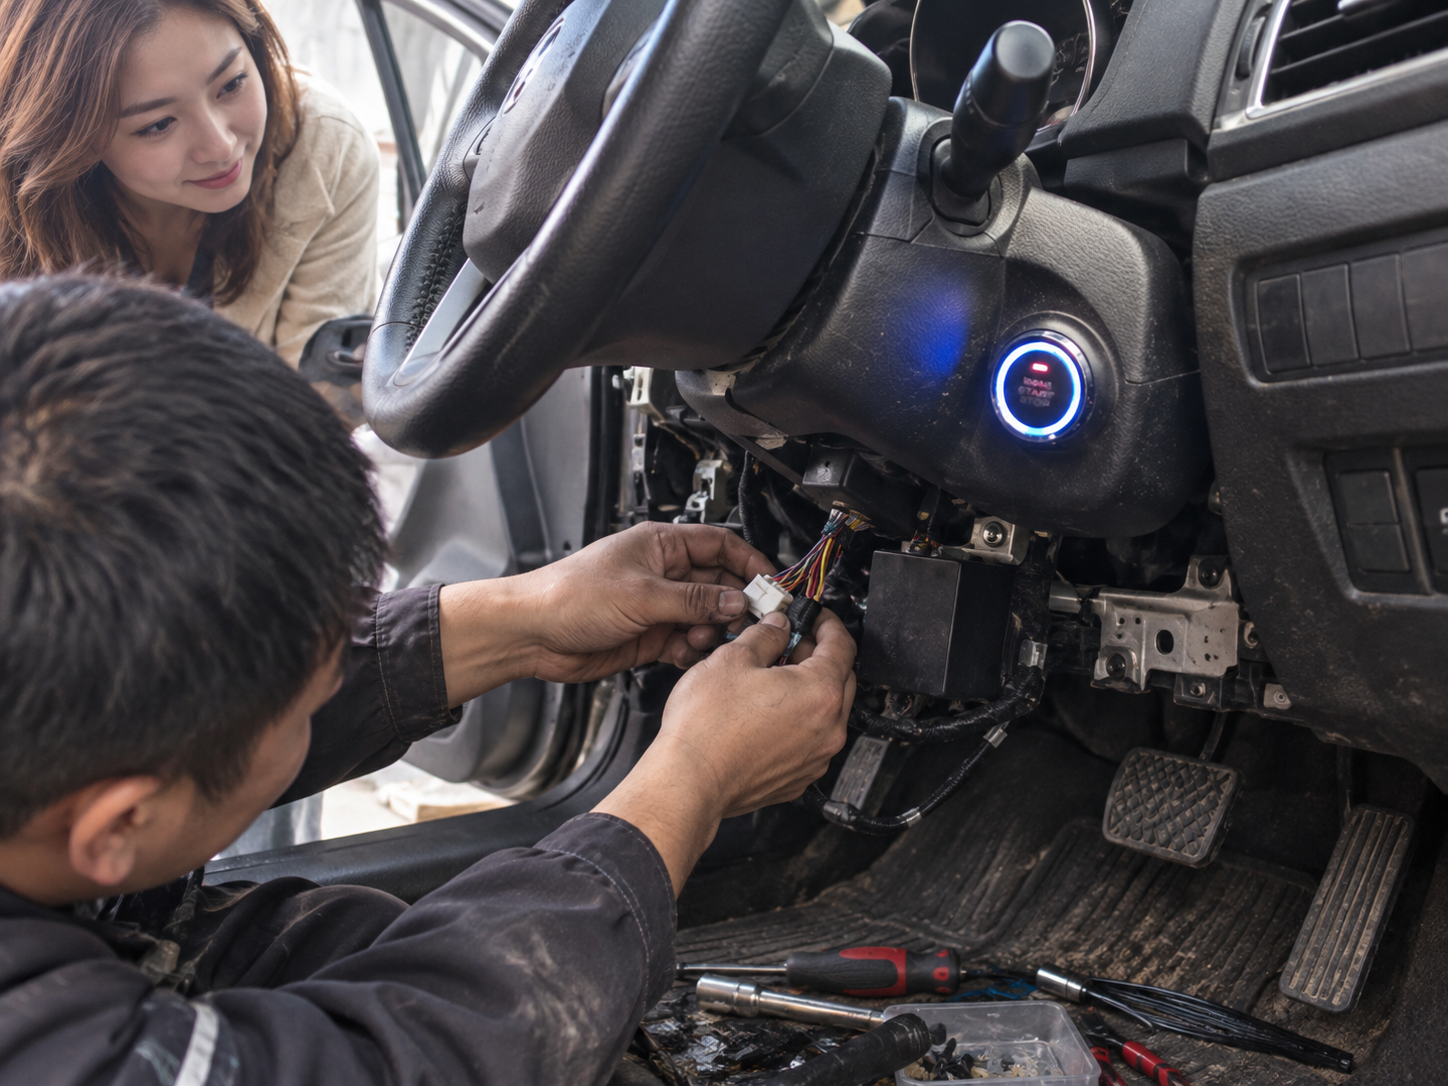
Inside the Installation Process
When people ask what happens during a professional push button start installation, the short answer is this: most of the real work is hidden behind the dashboard.
1. Panel removal and access
The lower trim around the steering column and driver-side dash is opened so the installer can safely access the ignition-related wiring. This is where careful work matters. Forcing clips, rushing panel removal, or pulling on harnesses can turn a clean install into an avoidable problem.
2. Button position confirmation
Before the system is fully secured, the installer confirms the exact button location. The goal is to create a factory-like look, not something that feels random or out of place.
3. Wiring and testing
At this stage, the technician verifies power, ignition logic, brake input, starter response, and system behavior. This is also the moment when experienced installers separate themselves from careless ones. A multimeter, a clean harness strategy, and patient testing make a major difference.
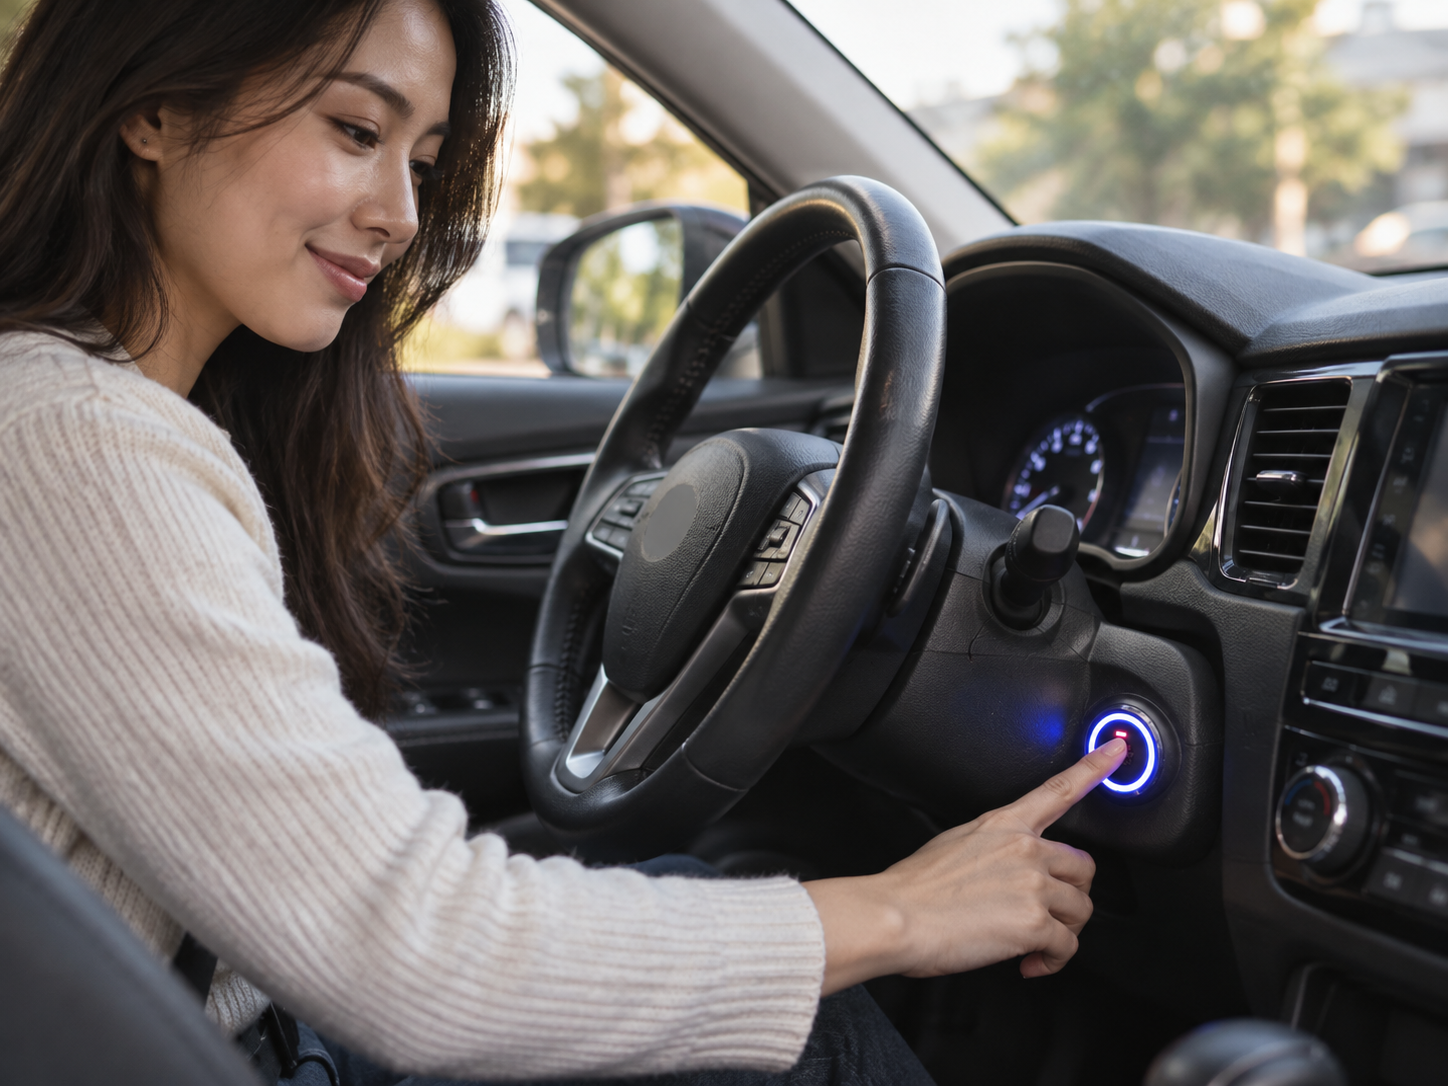
What the Owner Usually Notices During the Job
There is a small but memorable moment during almost every installation: the point when the owner stops seeing “a bundle of wires and removed trim” and starts seeing the finished car in their mind.
That happens when the illuminated button is in place and the dashboard starts looking complete again. Suddenly the project feels real. The car no longer looks like it is being taken apart — it looks like it is being upgraded.
That is why scene-based installations often create such a strong impression. The owner sees the entire story unfold in front of them: planning, disassembly, fitting, testing, and finally the polished result.
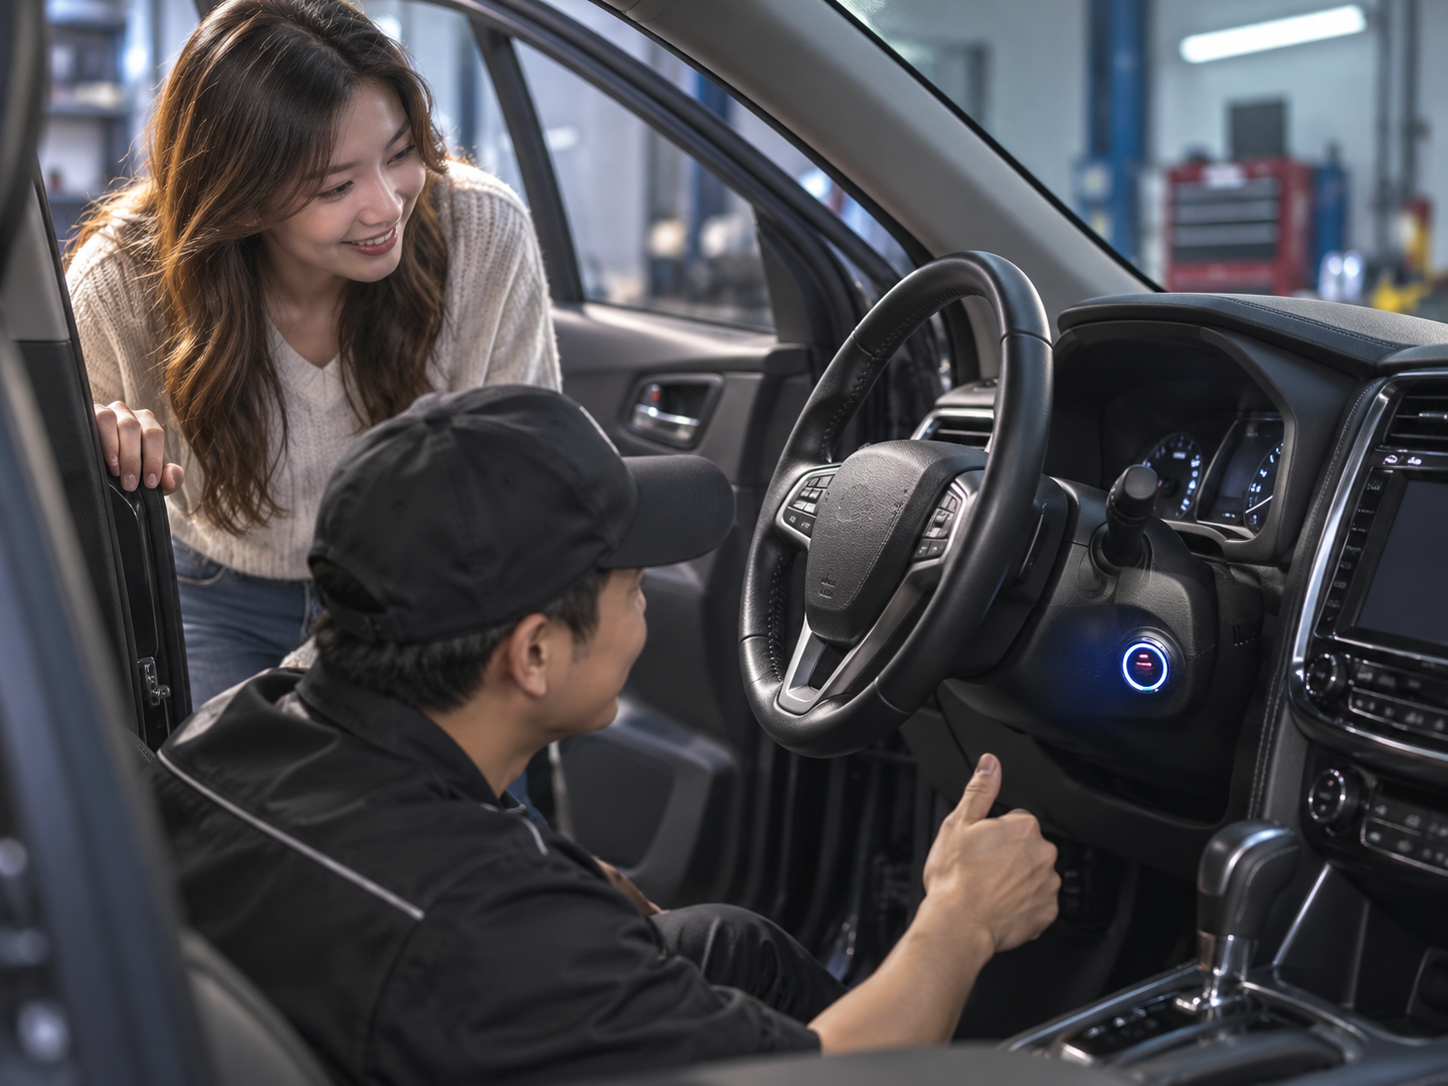
The Finished Look: Small Part, Big Upgrade
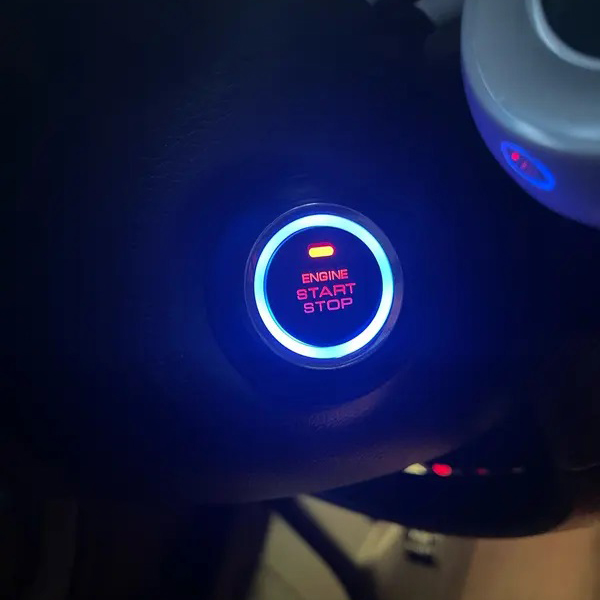
At the end of the process, what remains visible is simple: a clean round button, a clear illuminated ring, and a far more modern cabin experience. But what makes the result satisfying is not the button alone — it is the fact that the upgrade now feels like part of the car.
The final installed result below shows exactly the kind of finish many drivers want: clear lighting, neat fitment, and a location that feels easy to use during normal driving.
Why This Kind of Upgrade Feels So Personal
A push button start system is not just a hardware change. It changes a familiar routine. You walk up to the car differently, sit down differently, and start driving differently. For many owners, that small change creates a bigger emotional shift than they expected.
That is especially true when the installation is done in a thoughtful, professional way. Instead of looking like an aftermarket experiment, the result feels intentional. And when the owner has watched the process from beginning to end, the upgrade feels even more personal.
Final Thoughts
If you have been wondering what a real aftermarket push button start installation looks like, the answer is simple: it should look organized, careful, and believable. The best installs are not flashy during the process. They are deliberate. They respect the vehicle, the wiring, and the final appearance.
And once everything is done, the reward is immediate — a cleaner daily routine, a more modern dashboard feel, and a finished button that makes the whole car feel newer than it did before.
Ready to Upgrade Your Vehicle?
Explore EFHIPS push button start systems for older cars, daily drivers, trucks, and practical vehicle upgrades.
Browse Push Start Systems →or contact our team for compatibility advice
Related Reading
- EFHIPS PKE Alarm & Push Start System – Installation Manual
- Push Button Start Installation: What the Wires Actually Do and Why Most Problems Happen
- Push Button Start Not Working? 12 Common Causes and How to Diagnose Them
- How to Plan a Push Button Start Installation Before You Touch a Single Wire
- A Real Toyota Workshop Story: Watching an EFHIPS Installation Come Together